How to Fix a Chipped Denture Tooth?

When you discover a chip in your denture tooth, it’s important not to panic. First, assess the damage carefully—small chips might seem minor but can affect the overall fit and comfort of your dentures. You’ll need a reliable denture repair kit; make sure it includes dental-grade acrylic resin that matches the color of your existing teeth for a seamless fix. While the process might seem straightforward, the real challenge lies in molding the resin precisely to make sure it not only fills the gap but also restores the natural shape of the tooth. How you handle this next step can greatly impact the longevity and comfort of your denture.
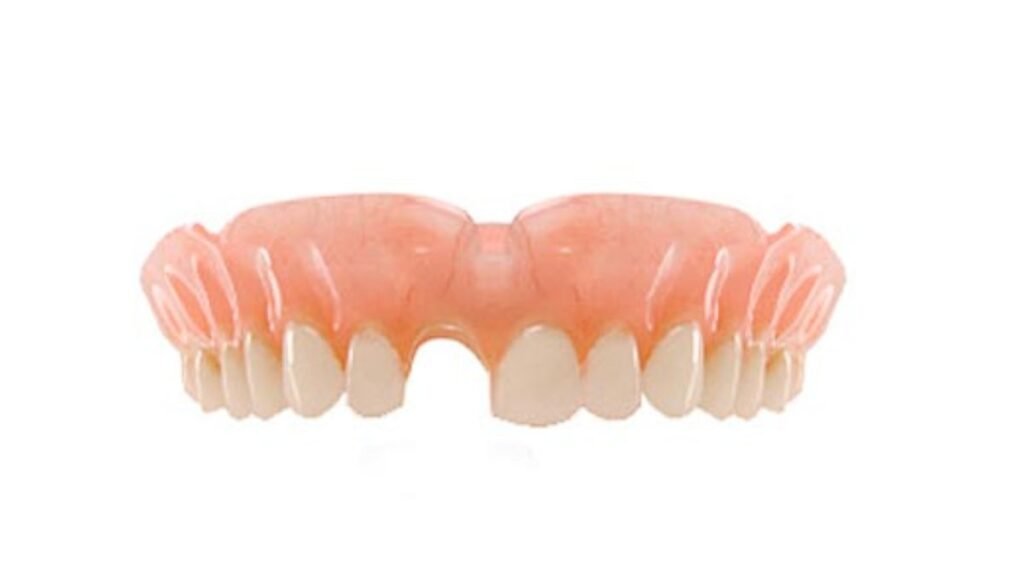
How much does it cost to replace a tooth in a denture
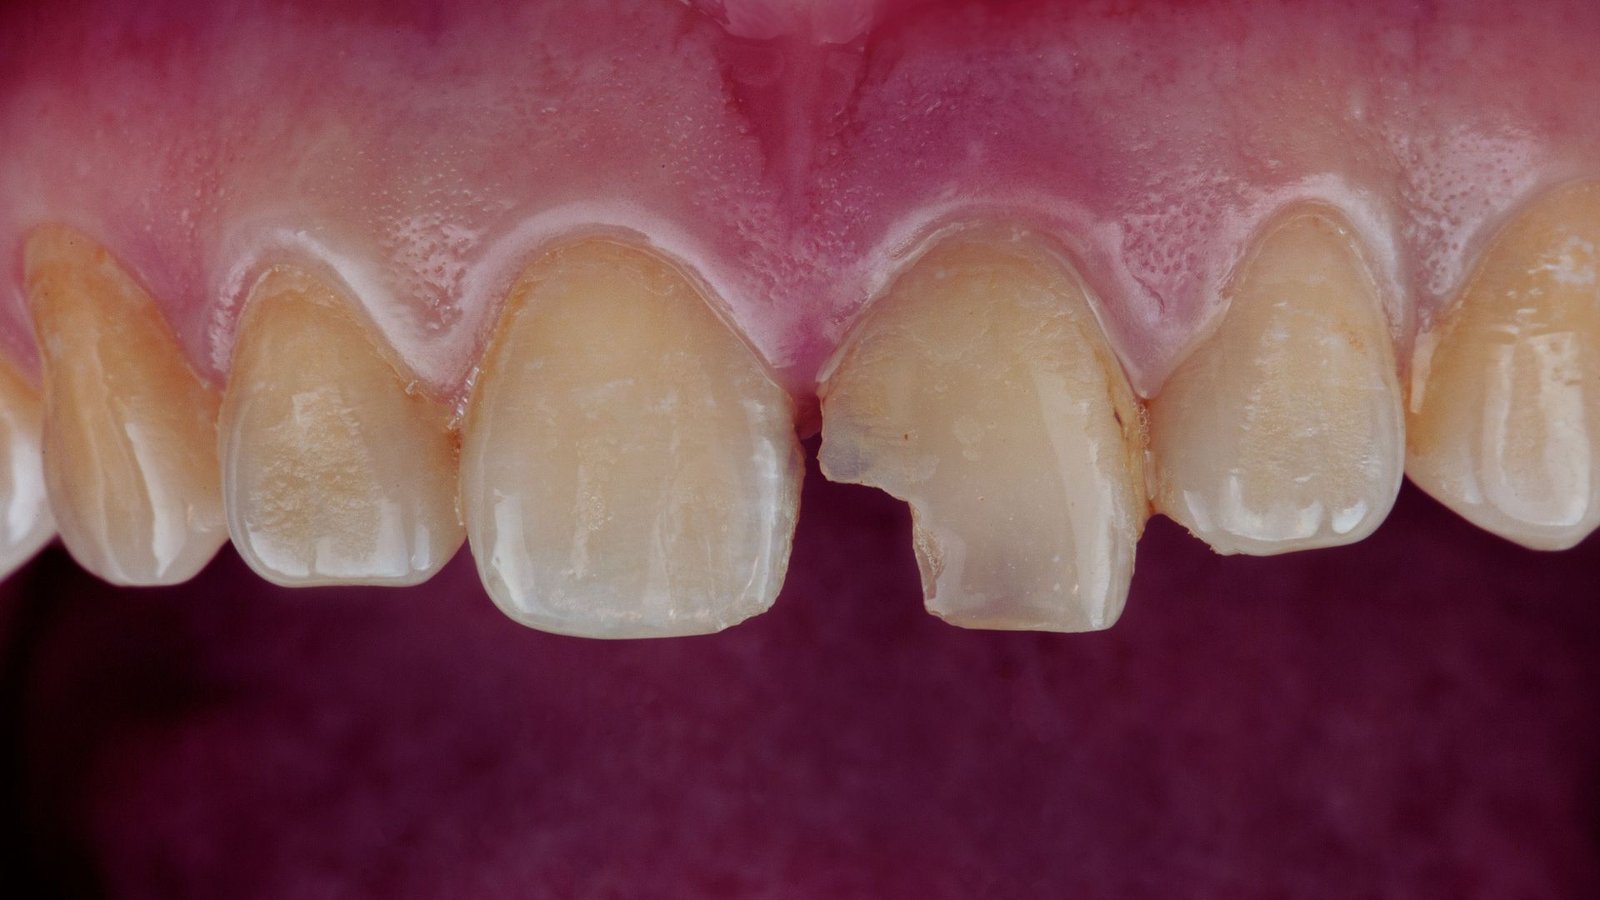
The first step in fixing a chipped denture tooth is to carefully assess the extent of the damage. Here’s what to look for:
- Size of the Chip: Is it a small nick or a significant chunk missing?
- Location: Is the chipped tooth in a visible area, or does it affect your bite?
- Pain or Discomfort: Are you experiencing any pain or discomfort as a result of the chip?
Understanding the severity of the damage will help you decide whether you can manage a temporary fix at home or if you need to seek professional dental assistance immediately.
Step 2: Gather Necessary Supplies
If the chip is minor and you’re looking for a temporary fix until you can see a dentist, gather the following supplies:
- Denture repair kit (available at most pharmacies)
- Soft toothbrush
- Denture adhesive
- Clean, dry cloth
Step 3: Clean the Denture
Before attempting any repairs, it’s crucial to clean the denture thoroughly to avoid trapping any debris or bacteria in the damaged area. Use a soft toothbrush and denture cleaner to gently scrub all surfaces of the denture. Rinse it well and pat it dry with a clean cloth.
Step 4: Temporary Repair with a Denture Repair Kit
Denture repair kits are designed for temporary fixes and can be a lifesaver until you get professional help. Follow the instructions provided in the kit, which typically include the following steps:
- Mix the Adhesive: Prepare the adhesive mixture as directed by the kit.
- Apply the Adhesive: Carefully apply the adhesive to the chipped area, making sure to smooth it out to avoid rough edges.
- Let It Set: Allow the adhesive to set and harden as per the instructions. This usually takes a few minutes.
- Check for Fit: Once the adhesive has set, place the denture back in your mouth to check for fit and comfort.
Step 5: Schedule a Dental Appointment
While a denture repair kit can provide a temporary solution, it’s essential to schedule an appointment with your dentist or prosthodontist as soon as possible. Professional repair or replacement ensures the longevity and functionality of your dentures.
Step 6: Professional Repair or Replacement
During your dental visit, the dentist will examine the chipped tooth and determine the best course of action:
- Repair: For minor chips, the dentist may be able to repair the tooth using dental bonding or other suitable materials.
- Replacement: If the damage is extensive, the dentist might recommend replacing the chipped tooth or even creating a new denture if necessary.
Preventing Future Damage
To avoid future incidents of chipped denture teeth, consider the following preventive measures:
- Handle with Care: Always handle your dentures carefully, especially when cleaning them.
- Avoid Hard Foods: Steer clear of hard or sticky foods that can put excessive pressure on your dentures.
- Regular Check-ups: Schedule regular dental check-ups to ensure your dentures are in good condition and properly fitted.
- Proper Cleaning: Maintain a good oral hygiene routine, including proper cleaning of your dentures to prevent any build-up that could weaken them.
Assessing the Damage
First, you need to carefully examine the chipped area to determine the extent of damage to your denture tooth. This initial step is vital in denture repair because it informs the approach you’ll take to restore the functionality and aesthetics of your denture. Use a magnifying glass if necessary to get a clear view of the fracture or chip. Look for any tiny cracks that may not be immediately visible to the naked eye, as these can affect the integrity of the repair if overlooked.
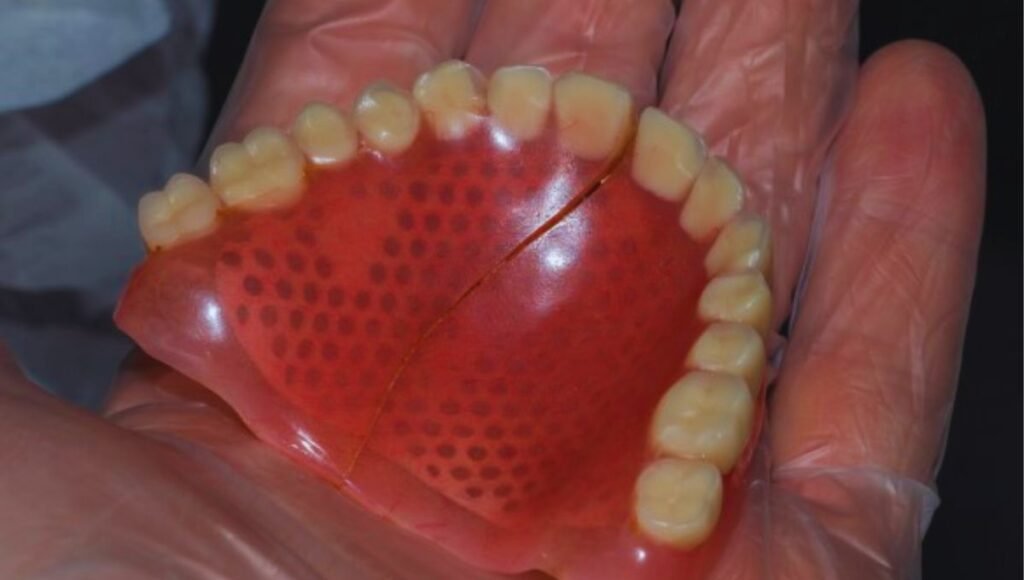
During your tooth assessment, check if the chip is superficial or if it extends deep into the denture base. A superficial chip often involves only the aesthetic outer layer and might require a simple filling procedure. However, a deeper chip affecting the base can compromise the denture’s structure, necessitating more thorough repair solutions.
Also, assess the location of the damage. Chips on the biting edges or at points of frequent contact are more likely to affect your denture’s function and may need prompt and meticulous repair to prevent further deterioration. Noting these specifics will guide you in choosing the most effective repair technique, ensuring the longevity and comfort of your denture.
Gathering Necessary Materials

Once you’ve evaluated the extent of the damage, gather the tools and materials needed for the repair of your chipped denture tooth. It’s essential to choose high-quality denture repair supplies to guarantee a safe and effective fix. You’ll need a denture repair kit that typically includes acrylic resin, a mixing bowl, and a spatula. Make sure the resin matches the color of your denture for a seamless repair.
Be cautious of DIY denture fixes that recommend using household adhesives like super glue. These aren’t only unsuitable but can also be harmful if ingested. They often result in common errors, such as uneven application or further damage to the denture structure. Instead, opt for medically approved adhesives designed for oral devices.
Exploring alternative methods might lead you to contemplate professional help, which is advisable if the damage is extensive. However, for minor chips, having the right tools at hand can allow a proper mend at home.
Temporary Repair Techniques
While professional repair is the best long-term solution, you can temporarily mend a minor chip in your denture tooth using a specific denture repair kit designed for short-term fixes. These kits are readily available at pharmacies and online, providing you with quick fixes that you can handle at home.
Although these are DIY solutions, it’s crucial to follow the directions closely to avoid harming your denture further.
Temporary repair kits typically include a resin or acrylic material that you can mold to fill in chips. It’s vital to clean the chipped area thoroughly before applying any material, ensuring that no food particles or bacteria interfere with the adhesion process.
After mixing the components as directed, apply the mixture carefully to the chipped area, shaping it to match the contour of the surrounding teeth. This not only restores the appearance but also prevents the chip from worsening.
Applying a Denture Repair Kit
After you’ve prepared the chipped area on your denture, open your denture repair kit and carefully read the included instructions to begin the application process. Choosing the right kit is essential; look for one that’s specifically designed for dental use to guarantee compatibility and safety. A good kit usually includes a bonding adhesive, a filing tool, and color-matching materials to make the repair blend seamlessly with your existing denture.
When repairing at home, it’s important to work in a well-lit area and have a clean, flat surface. Start by mixing the bonding adhesive according to the instructions—precision here is key to achieving a strong bond. Apply the adhesive to the chipped area, using just enough to cover it without overflowing. If your kit includes color-matching materials, apply these before the adhesive fully sets to ensure a natural look.
Allow the adhesive to cure as directed, usually for a few minutes. During this time, avoid moving the denture to guarantee the repair sets properly. Once cured, gently file any excess material to create a smooth finish, making sure not to disturb the newly repaired area. This careful approach will help restore the function and aesthetics of your denture effectively.
Caring for Your Repaired Denture
Proper maintenance of your repaired denture is essential to extending its lifespan and ensuring it remains comfortable and functional. After any repair, focusing on long-term maintenance and denture hygiene is vital to prevent further issues.
You should clean your dentures daily using a soft-bristled brush and non-abrasive cleaner to avoid scratching the surfaces. It’s also important to soak your dentures overnight in a cleansing solution, which helps to remove bacteria and food particles.
Preventing damage to your dentures is key. Always handle them with care, especially when cleaning or removing them. Avoid using them to bite down on hard foods or objects that could cause stress and potentially crack the repaired area.
It’s wise to keep a denture repair kit on hand for emergency repairs, but use it only as a temporary solution until professional help can be sought.
When to See a Dentist

Despite your best efforts to maintain and care for your repaired dentures, you should consult your dentist if you notice discomfort, increased sensitivity, or further damage. While DIY solutions can offer a temporary fix, some situations require professional attention to prevent worsening conditions or more significant repairs.
You might feel tempted to manage minor issues on your own, but recognizing when to seek help is important. Below is a table outlining signs that necessitate a visit to your dentist:
| Sign to Watch | Possible Cause | Action Needed |
|---|---|---|
| Persistent discomfort | Misalignment or improper repair | Visit dentist |
| Increased sensitivity | Exposed nerves or damage | Schedule appointment |
| Visible cracks or chips | Further deterioration | Immediate dental consultation |
| Difficulty chewing | Structural problems | Contact your dentist |
| Discoloration or odor | Potential infection | Get professional help |
In emergency situations, such as a complete break or loss of a denture tooth, it’s crucial to see your dentist immediately. These scenarios go beyond the scope of DIY repairs and require professional intervention to ensure your oral health isn’t compromised. Always prioritize your well-being by recognizing when a professional evaluation is necessary.
Frequently Asked Questions
Can a Chipped Denture Tooth Cause Discomfort or Injury?
Yes, a chipped denture tooth can cause discomfort or injury, potentially leading to gum irritation or cuts. It’s important to manage pain and consult an emergency dentist for proper assessment and repair.
Are There Foods to Avoid With a Chipped Denture?
Yes, you should avoid hard or sticky foods to prevent further damage. Opt for denture-friendly snacks that won’t exacerbate the issue and aid in chipped denture prevention, ensuring your comfort and dental health.
How Long Does a Temporary Denture Repair Last?
A temporary denture repair typically lasts a few weeks. You should seek permanent solutions to guarantee long-term denture durability. Explore all repair options with your dental professional for the best outcome.
Can Chipped Dentures Affect My Speech?
Yes, chipped dentures can affect your speech, potentially causing a speech impediment. It’s vital you maintain your dentures properly to avoid issues like a chipped tooth impacting your verbal communication.
Is It Safe to Sleep With Repaired Dentures?
Yes, it’s generally safe to sleep with repaired dentures, but proper denture care is important. Monitor nighttime habits to make sure no additional stress is placed on them, potentially preventing further damage.
Conclusion
Now that you’ve repaired your chipped denture tooth, it’s important to maintain its condition. Clean your denture daily and handle it with care to prevent further damage.
If you experience discomfort or notice additional damage, don’t hesitate to consult your dentist. Regular professional check-ups can guarantee your denture continues to function well and fits comfortably.
Remember, timely intervention by a dental professional is key to maintaining best oral health and denture longevity.